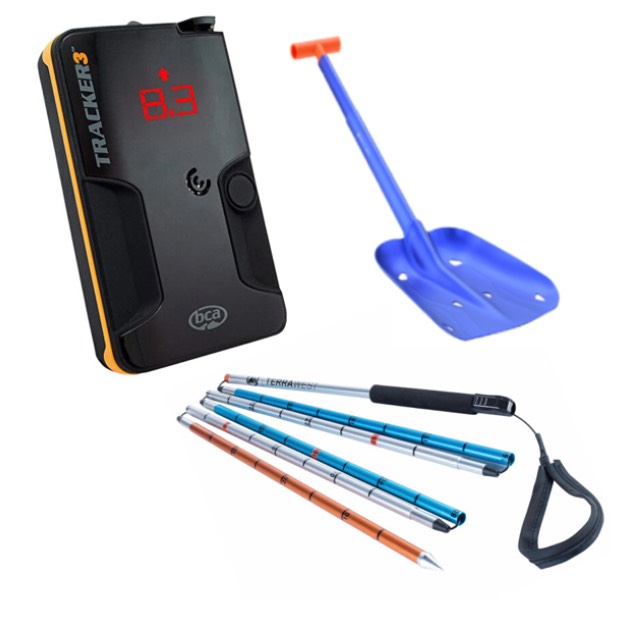
BCA Tracker 3 Package
Spikes and Burials
The distance between the strongest signal and the transmitter is based on the way the two transceivers are positioned and the depth of the burial. This can possibly confuse signals if there in awkward positions and are known as spikes.
During deeper avalanche burials, the strongest signal is rarely directly above the victim. Transceivers with fewer than three antennas and some with three antennas will lead you to the strongest signal, which will be a point that is near but not directly above the victim.
When the transmitting and receiving beacons are on the surface of the snow, the receiving beacon will receive the strongest signal when it is directly above the transmitter. This is right regardless of the positioning of the two beacons and the number of antennas in the receiving transceiver because the transceivers are only a few inches from each other.
Simple Spike Testing
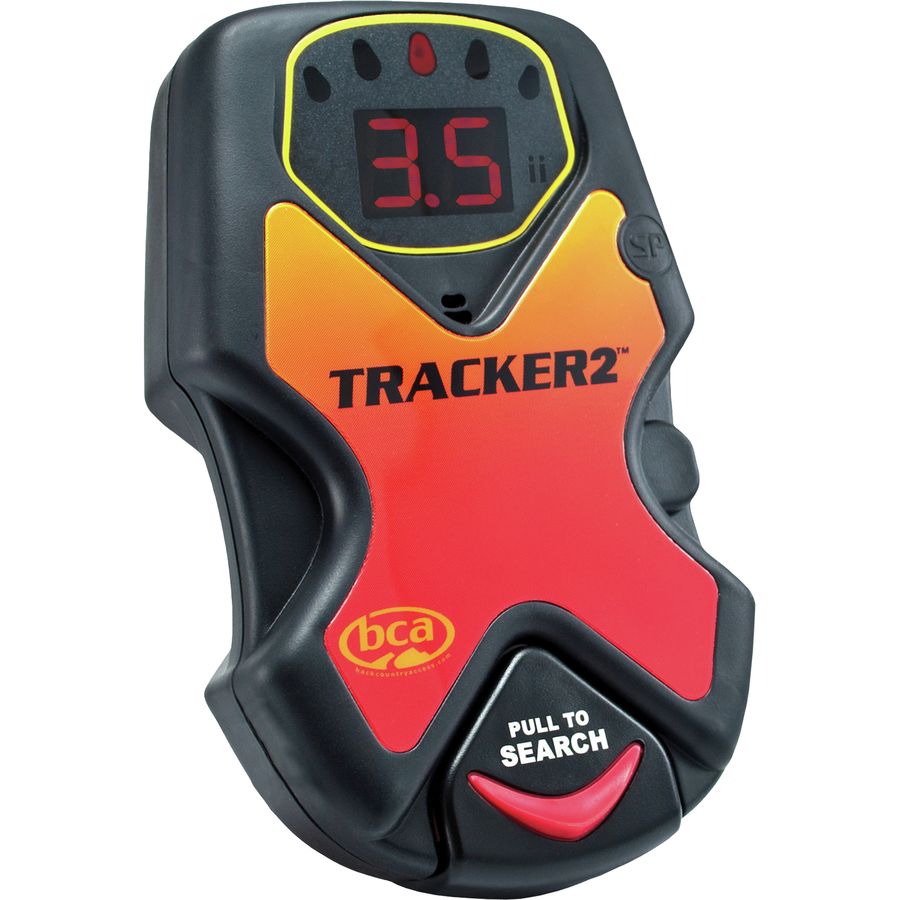
Put a transmitting beacon between your feet, pointing vertically. Note that this should not be an Ortovox 3+,S1+ or Zoom+ due to there orientation-based transmitting.
Set the transceiver you want to test on Search.
Hold the transceiver horizontally at the height of your chest but so you can still read the screen.
Slowly move the transceiver from about two feet from your body toward the centre of your body. Move it about two inches per beep. Keep the transceiver a consistent distance from the ground and avoid twisting it.
The distance on the transceiver that’s searching should decrease as it moves towards the centre of your body. Transceivers with less then three antennas will display the shortest distance when it is a foot or two away from the centre of your body and again when it is directly over the transmitting transceiver.
This test shows if your transceiver handles spikes at one meter.Spike handling is much more significant with deeper burials.
Probing Techniques:
Beacon Search Probing
The pinpoint search (within three meters) is the trickiest part
of a beacon search. A probe can quickly confirm the location and depth of burial.
Probes with depth markings aid in determining exact depth
and in determining the appropriate excavation area size.
From your lowest distance reading, probe 10 in (25cm)
apart in an expanding spiral pattern.
Since the pinpoint search is done along the snow surface, insert
probe perpendicular to the surface, not straight down.
After striking the victim, leave in place and start shoveling
downhill of the probe.
Recommended probe length: 1.8 to 3 meters.
Spot Probing
Performed if beacons are not worn or not functioning.
Probe up to 6 feet deep (1.5 meters) in likely burial spots.
These include the fall line below last-seen-area; around the
victim’s equipment on surface; above and below rocks &
trees; depressions, curves, and the toe of the debris pile.
Studies show that avalanche victims rarely survive below 6
feet (1.5 meters). Therefore a live recovery is more likely if
you probe more areas than if you probe deeper.
Recommended probe length: 2 to 3 meters.
How to Shovel Correctly:
After reading the depth of the victim using the snow probe move downhill
Start digging a trench into the snow towards the victim.
The trench should be the same length as the depth of the victim
This is to allow space to clear previously dug snow.
If multiple shovelers are available then one person should be digging down at the point of the probe and the other people or person should be clearing snow out of the trench to allow room.
These roles should be rotated to keep shovelers fresh.