UK flag Online Since 2001
Online Chat Online Chat
Next Day Delivery Order Before 1pm, DPD Next Day Delivery
Snowsafe logo

Avalanche Safety Equipment and Backcountry Products

Avalanche Safety Equipment and Backcountry Products

Backcountry Planning

Backcountry Planning Backcountry Planning is based on the 4 main topics: 1. Selecting your Destination 2. Graphical Reduction Method 3. Graphical Reduction Method – Pendulum Method 4. Emergency Avalanche Equipment The basis for preparing any back-country skiing is the information from the Avalanche reports, Weather reports, tour guides and topographic maps, Its important you do … Continue reading “Backcountry Planning”

Transceivers – How do they Work ? 🤳

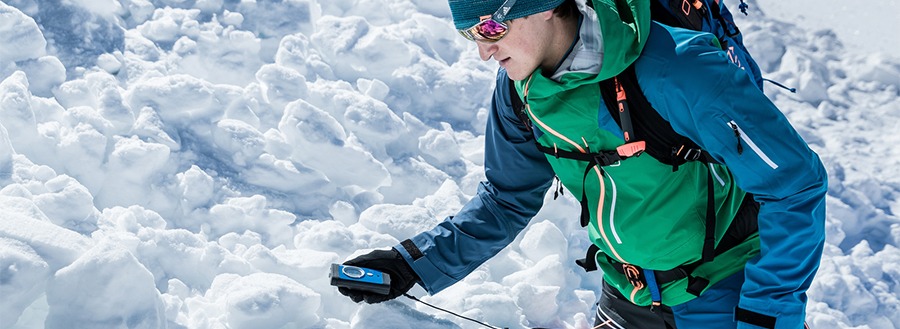
Snowsafe break down how avalanche transceivers work? Avalanche Transceivers are handheld devices that emit signals. If one of your skiing companions are buried in an avalanche, other transceivers carried by the party pick up the signal being emitted from under the snow. If you have not been buried then you must force your avalanche beacon into … Continue reading “Transceivers – How do they Work ? 🤳”

Be Brave – Adventure Beyond The Pistes

Introduction: Thereʼs nothing like leaving the best off-piste powder tracks in virgin snow. Skierʼs dream of it. Itʼs truly life changing! Youʼre feeling pumped up, striking each turn with punch and finesse and grinning from ear to ear. Unfortunately, most skiers struggle off-piste. As humans, we think weʼre rational but we arenʼt. Ski Mckay: My … Continue reading “Be Brave – Adventure Beyond The Pistes”

Avalanche Safety Courses

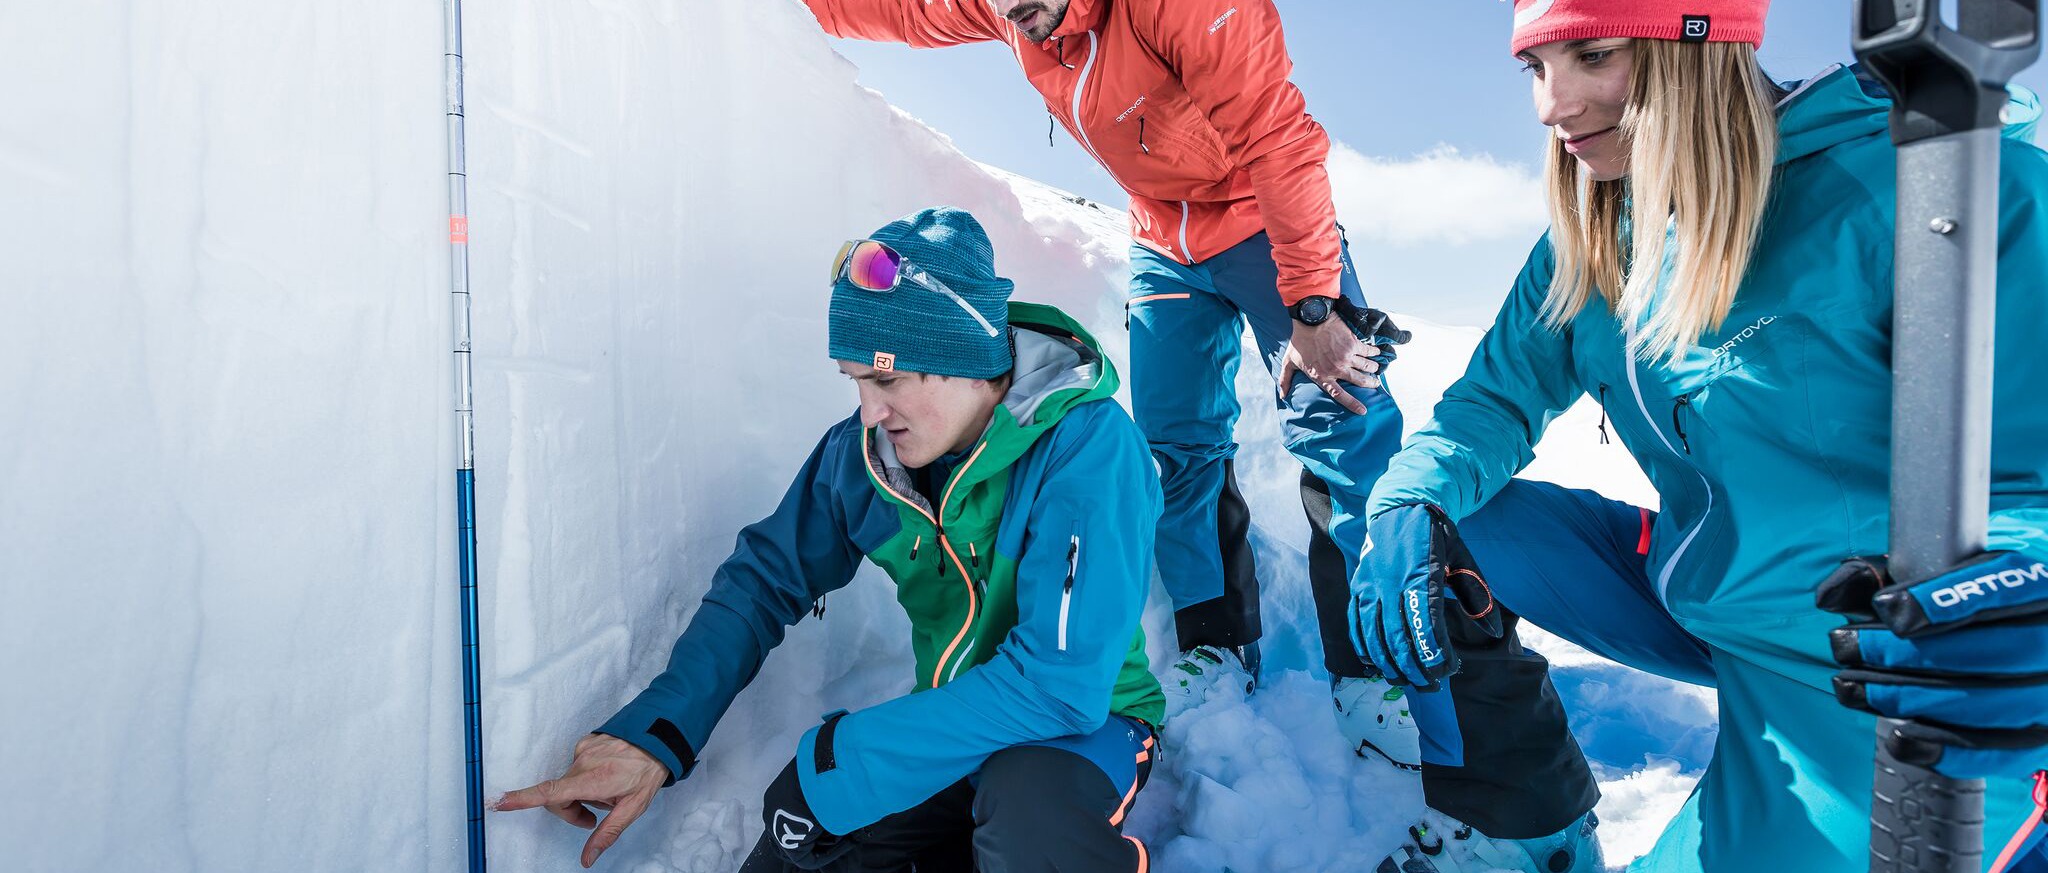
Whos Venturing into the unknown this winter season? Make sure you’re aware of what to expect from Avalanche Safety Courses There are not many things in the world that will give you the same satisfaction as riding through deep powder in the backcountry, however, this comes at a greater risk. Without taking any avalanche safety … Continue reading “Avalanche Safety Courses”

Top Tips for Surviving an Avalanche

Your First Reactions In An Avalanche 1. Move Sideways The most dangerous spot to be in an avalanche is the centre of it. When there are signs of an avalanche, it is important that you move sideways to give yourself the best of chances of avoiding being caught in the middle of one.  Whether the … Continue reading “Top Tips for Surviving an Avalanche”

Off-Piste Checklist – Equipment and Awareness Safety

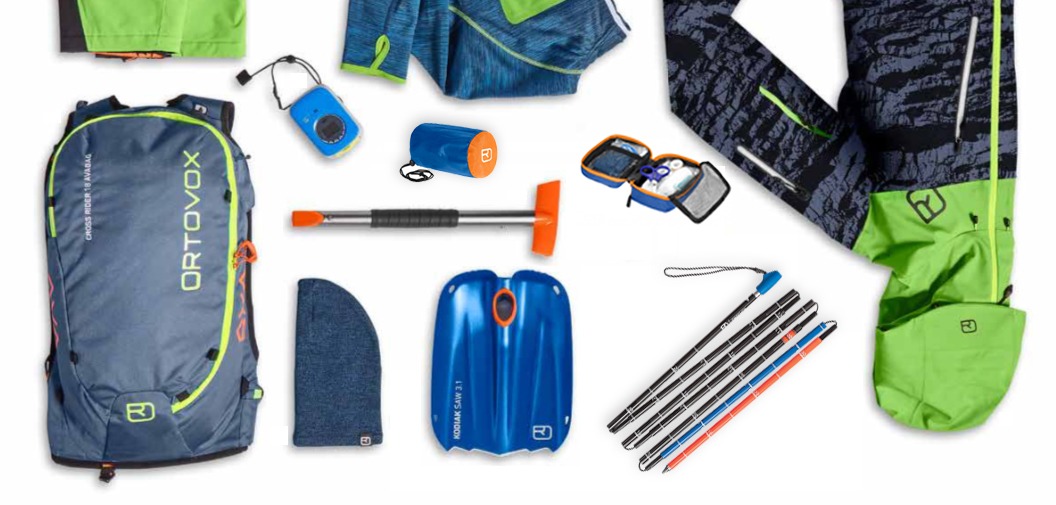
Complete Off-Piste Checklist To Get You Ready For Long  Days In Deep Powder It’s important to get yourself together an Off-Piste Checklist before heading off to the mountains. Traditionally known equipment such as an avalanche beacon, shovel and probe are the essentials when heading off-piste, However, over recent years a growing number of skiers and … Continue reading “Off-Piste Checklist – Equipment and Awareness Safety”

Snowsafe.co.uk at the London Ski Show

href=”http://www.snowsafe.co.uk” target=”_blank”>Snowsafe.co.uk will be exhibiting at the London Ski Show at Battersea from Thursday the 26th October 2017 until Sunday the 29th October 2017. All our products will be for sale and on display from Shovels and Probes to ABS, Ortovox and Jetforce Airbags. Demonstrations of the Jet force airbags will happen 3 to 4 … Continue reading “Snowsafe.co.uk at the London Ski Show”

About Us

About Snowsafe Snowsafe.co.uk is the website and trading name of Target Services Limited with premises at 5 Chapel Mews, Hove, East Sussex, BN3 1AR. Telephone number +44 1273 920 707. Snowsafe.co.uk has been selling Avalanche Safety Equipment on the Internet since the year 2000. Our products are aimed at those who ski and snowboard off-piste, … Continue reading “About Us”

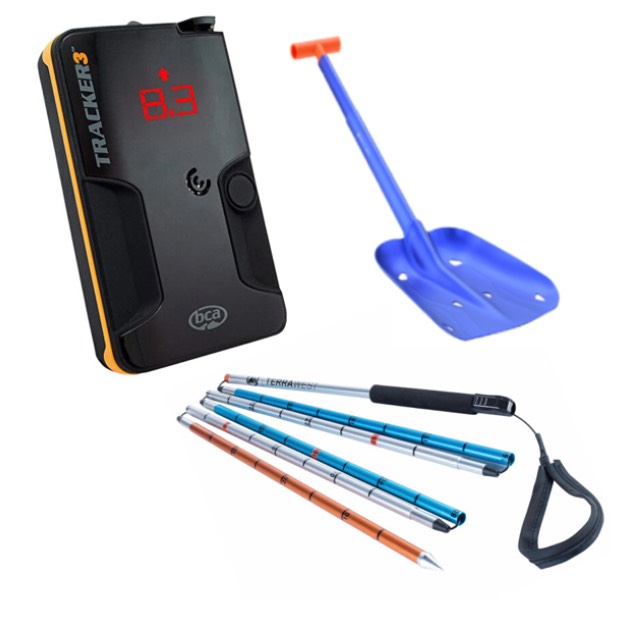
BCA Tracker 3 Package

Spikes and Burials

The distance between the strongest signal and the transmitter is based on the way the two transceivers are positioned and the depth of the burial. This can possibly confuse signals if there in awkward positions and are known as spikes.

During deeper avalanche burials, the strongest signal is rarely directly above the victim. Transceivers with fewer than three antennas and some with three antennas will lead you to the strongest signal, which will be a point that is near but not directly above the victim.

When the transmitting and receiving beacons are on the surface of the snow, the receiving beacon will receive the strongest signal when it is directly above the transmitter. This is right regardless of the positioning of the two beacons and the number of antennas in the receiving transceiver because the transceivers are only a few inches from each other.

Simple Spike Testing

Put a transmitting beacon between your feet, pointing vertically. Note that this should not be an Ortovox 3+,S1+ or Zoom+ due to there orientation-based transmitting.

Set the transceiver you want to test on Search.

Hold the transceiver horizontally at the height of your chest but so you can still read the screen.

Slowly move the transceiver from about two feet from your body toward the centre of your body. Move it about two inches per beep. Keep the transceiver a consistent distance from the ground and avoid twisting it.

The distance on the transceiver that’s searching should decrease as it moves towards the centre of your body. Transceivers with less then three antennas will display the shortest distance when it is a foot or two away from the centre of your body and again when it is directly over the transmitting transceiver.

This test shows if your transceiver handles spikes at one meter.Spike handling is much more significant with deeper burials.

Probing Techniques:

Beacon Search Probing

The pinpoint search (within three meters) is the trickiest part

of a beacon search. A probe can quickly confirm the location and depth of burial.

Probes with depth markings aid in determining exact depth

and in determining the appropriate excavation area size.

From your lowest distance reading, probe 10 in (25cm)

apart in an expanding spiral pattern.

Since the pinpoint search is done along the snow surface, insert

probe perpendicular to the surface, not straight down.

After striking the victim, leave in place and start shoveling

downhill of the probe.

Recommended probe length: 1.8 to 3 meters.

Spot Probing

Performed if beacons are not worn or not functioning.

Probe up to 6 feet deep (1.5 meters) in likely burial spots.

These include the fall line below last-seen-area; around the

victim’s equipment on surface; above and below rocks &

trees; depressions, curves, and the toe of the debris pile.

Studies show that avalanche victims rarely survive below 6

feet (1.5 meters). Therefore a live recovery is more likely if

you probe more areas than if you probe deeper.

Recommended probe length: 2 to 3 meters.

How to Shovel Correctly:

After reading the depth of the victim using the snow probe move downhill
Start digging a trench into the snow towards the victim.
The trench should be the same length as the depth of the victim
This is to allow space to clear previously dug snow.
If multiple shovelers are available then one person should be digging down at the point of the probe and the other people or person should be clearing snow out of the trench to allow room.
These roles should be rotated to keep shovelers fresh.

BCA DTS Tracker 2 Package

How to Shovel Correctly:

After reading the depth of the victim using the snow probe move downhill
Start digging a trench into the snow towards the victim.
The trench should be the same length as the depth of the victim
This is to allow space to clear previously dug snow.
If multiple shovelers are available then one person should be digging down at the point of the probe and the other people or person should be clearing snow out of the trench to allow room.
These roles should be rotated to keep shovelers fresh.

Probing Techniques

Beacon Search Probing

The pinpoint search (within three meters) is the trickiest part

of a beacon search. A probe can quickly confirm the location and depth of burial.

Probes with depth markings aid in determining exact depth

and in determining the appropriate excavation area size.

From your lowest distance reading, probe 10 in (25cm)

apart in an expanding spiral pattern.

Since the pinpoint search is done along the snow surface, insert

probe perpendicular to the surface, not straight down.

After striking the victim, leave in place and start shoveling

downhill of the probe.

Recommended probe length: 1.8 to 3 meters.

Spot Probing

Performed if beacons are not worn or not functioning.

Probe up to 6 feet deep (1.5 meters) in likely burial spots.

These include the fall line below last-seen-area; around the

victim’s equipment on surface; above and below rocks &

trees; depressions, curves, and the toe of the debris pile.

Studies show that avalanche victims rarely survive below 6

feet (1.5 meters). Therefore a live recovery is more likely if

you probe more areas than if you probe deeper.

Recommended probe length: 2 to 3 meters.

Finding your serial number on the BCA DTS Tracker 2

Unscrew the screw on the battery compartment

Flip the lid and take out batteries if needs be

Your serial number will consist of numbers and letters for example “C” “8” “1” “4” “7” “5” “J” “6”

Spikes and Burials

The distance between the strongest signal and the transmitter is based on the way the two transceivers are positioned and the depth of the burial. This can possibly confuse signals if there in awkward positions and are known as spikes.

During deeper avalanche burials, the strongest signal is rarely directly above the victim. Transceivers with fewer than three antennas and some with three antennas will lead you to the strongest signal, which will be a point that is near but not directly above the victim.

When the transmitting and receiving beacons are on the surface of the snow, the receiving beacon will receive the strongest signal when it is directly above the transmitter. This is right regardless of the positioning of the two beacons and the number of antennas in the receiving transceiver because the transceivers are only a few inches from each other.

Simple Spike Testing

Put a transmitting beacon between your feet, pointing vertically. Note that this should not be an Ortovox 3+,S1+ or Zoom+ due to there orientation-based transmitting.

Set the transceiver you want to test on Search.

Hold the transceiver horizontally at the height of your chest but so you can still read the screen.

Slowly move the transceiver from about two feet from your body toward the centre of your body. Move it about two inches per beep. Keep the transceiver a consistent distance from the ground and avoid twisting it.

The distance on the transceiver that’s searching should decrease as it moves towards the centre of your body. Transceivers with less then three antennas will display the shortest distance when it is a foot or two away from the centre of your body and again when it is directly over the transmitting transceiver.

This test shows if your transceiver handles spikes at one meter.Spike handling is much more significant with deeper burials.

Before using your transceiver you should always register it online so you can get full warranty on your product aswell as checking for brand new updates which are available.